Create Report
The purpose of this tutorial is to show how to create a report for a study.
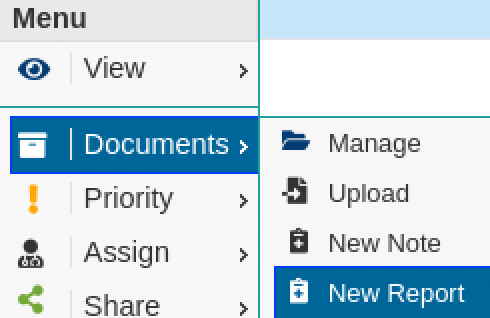
- To add a report to a study right click the study in the Worklist, hover over Documents, and select New Report.
- This opens up the Note Template Wizard, which allows you to choose premade templates for the report's header, body, and footer. Clicking next will bring you to report page or the screen will auto-skip if no choice is made in 15 seconds.
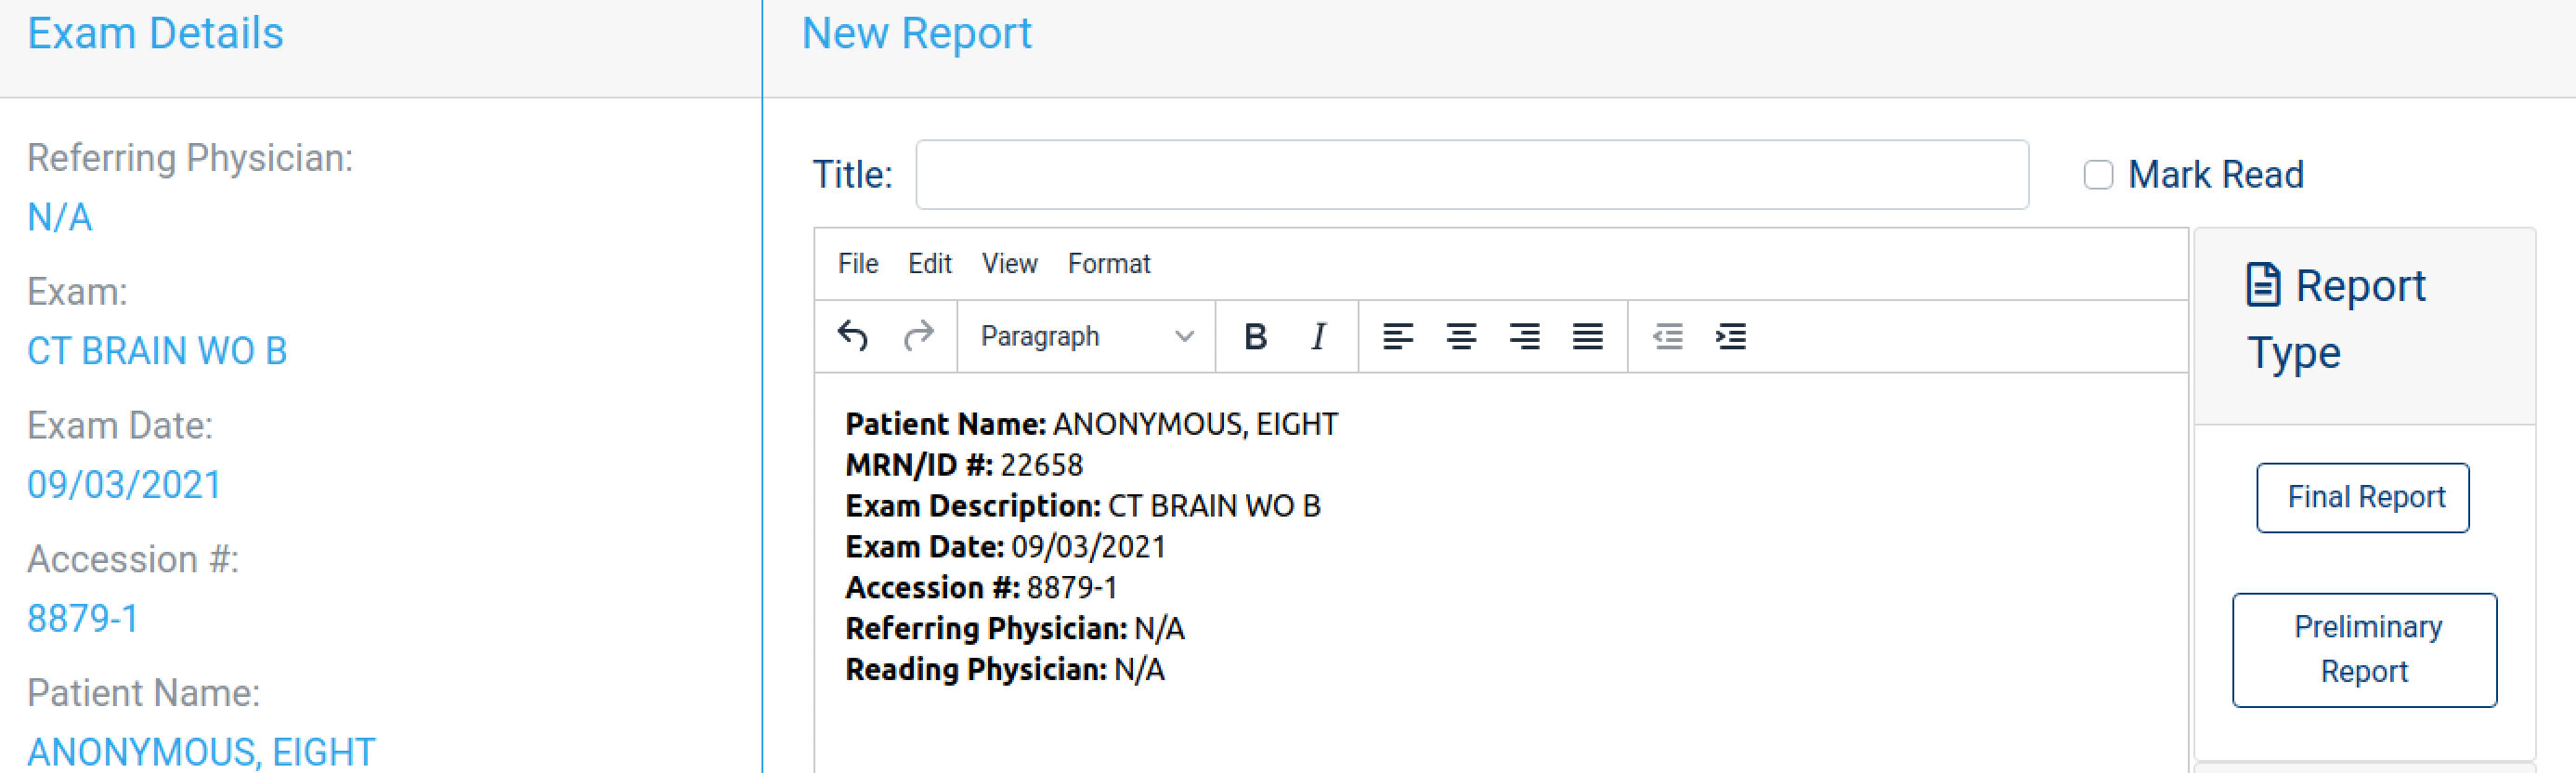
- The New Report screen displays study details and an editor for the report, if a template was chosen the text will already be in the editor. Additional options like Report type, Alert level, attachments, read state, and title can be set here. The report can be filled out with mouse/keyboard or using a microphone by enabling it with the microphone button. You can also view the study quickly by clicking on the eye button which opens the study in the Web Viewer.
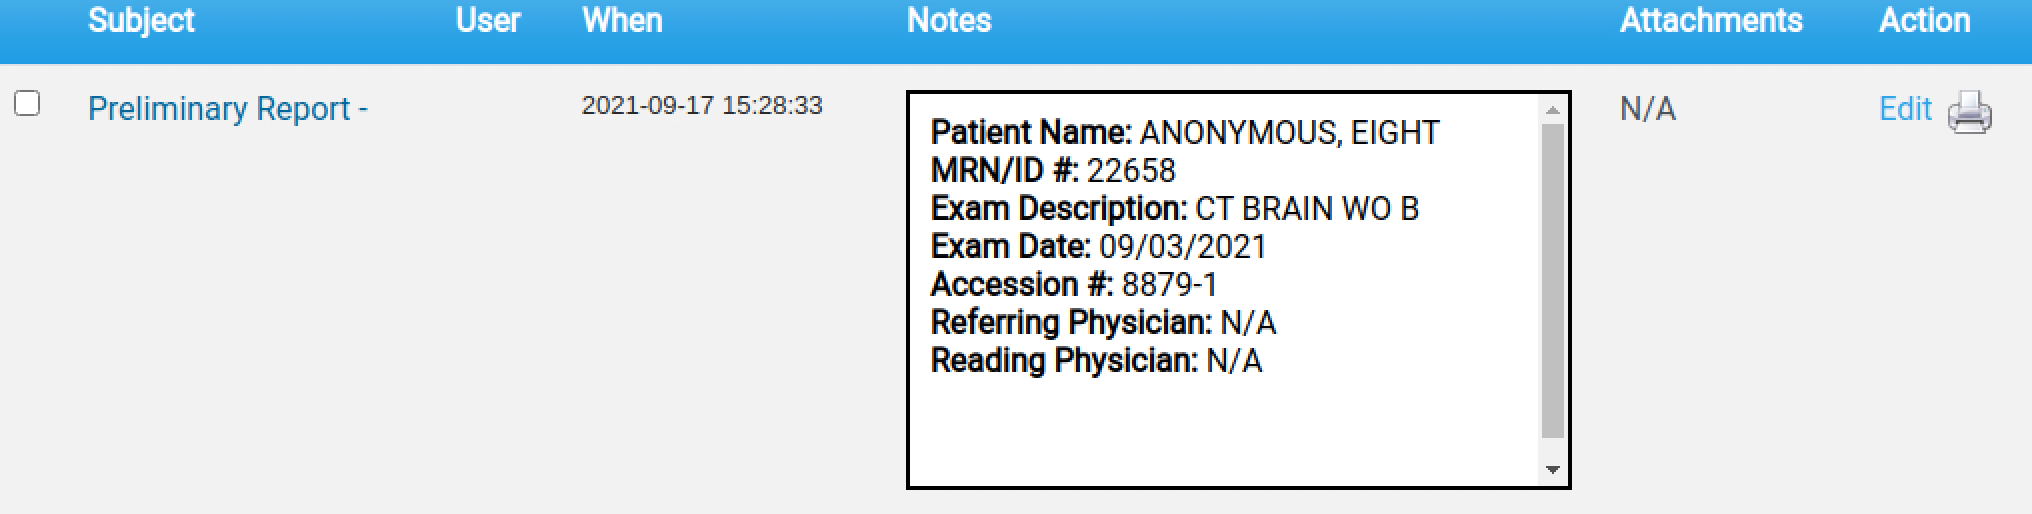
- After clicking save the screen is redirected to the Manage Documents page where you can see the newly added report. The report can also be viewed by clicking on the report icon on the study row, whose color reflects the Alert level of the report.